Your Sewing Machine, Explained: Everything a Beginner Needs to Know Before You Sew a Single Stitch
Maybe you pulled an old machine out of a closet. Maybe you just bought a basic one and it's still sitting in the box. Maybe you borrowed one from your mom. However you got here, there's a good chance you're looking at that machine and thinking: okay, but where do I even start?
This lesson is where you start.
This is the Brave Beginner Quilt Course: Make Your First Quilt and Love It, a free step-by-step video series from Jittery Wings Quilt Company. I'm Mitzie Schafer, and in this lesson, I'm walking you through every part of a basic sewing machine — what it's called, what it does, and how to use it. My studio assistant, Kelly, is making this quilt for the first time right alongside you, asking every question a beginner actually has. She has a 1973 Kenmore she inherited from her mom. If your machine is basic or old, you're going to be just fine.
You Don't Need a Fancy Machine
The machine we're using in this series is a Juki TL2010Q. It was chosen specifically because it's as basic as it gets — no computer, no complicated settings. Just stitch length, tension, speed control, and a needle. If you have a simple machine at home, this lesson will translate directly to what you're working with. The goal isn't to learn one specific machine. It's to understand how sewing machines work so you can use whatever you have.
Understanding Stitch Length
One of the first things Kelly noticed was that the numbers on her machine looked different from the ones in the video. That's completely normal, and here's why: modern machines measure stitch length in millimeters, where a smaller number means a shorter, tighter stitch. Some older machines measure in stitches per inch, where a larger number means more stitches packed into the same space, which means they're closer together. The logic runs in opposite directions, but the result is the same.
For quilting, stitch length matters for two different reasons. When you're piecing, sewing your fabric pieces together, you want a shorter stitch so the seam stays tight and doesn't come apart. When quilting through all three layers (top, batting, and backing), a longer stitch is standard. The longer stitch is also simply prettier, more elegant, the way a top stitch looks on a well-finished garment.
How to Thread Your Machine
Threading a sewing machine feels like a maze the first time. Every machine is a little different, which is why the video walks through the process step by step on the Juki — but the logic holds for most machines. If your machine doesn't have numbered threading guides, your manual (or a quick YouTube search for your specific model) will show you the path.
One tip Kelly uses: lick the thread before you thread the needle. It smooths down the fibers and makes it easier to get through the eye. First try, every time. Use whatever works for you.
Replace Your Needle Before You Start
If you're pulling out an old machine that hasn't been used in years, replace the needle before you do anything else. A worn or bent needle is one of the most common reasons beginners have trouble with their machines — skipped stitches, thread breaking, uneven tension — and it's one of the easiest fixes. A pack of universal 75/11 needles costs about $5 and will save you hours of frustration.
When you remove the old needle, drop it into an old pill bottle rather than straight into the trash. Sharp things in the garbage can cause problems — this keeps everyone safer.

The Parts You'll Use Every Time
Once your machine is threaded and your needle is in, here are the parts that matter most for making your first quilt.
The presser foot is the piece of metal or clear plastic that holds your fabric down while the feed dogs pull it through from underneath. For quilting, you want a quarter-inch foot — one where the distance from the needle to the edge of the foot is exactly a quarter of an inch. That measurement matters because almost every seam in quilting is a quarter inch. If your machine didn't come with a quarter-inch foot, you can order one or use quarter-inch tape as a guide.
The feed dogs are the little ridged tracks under the foot that grip the fabric and move it through the machine. When you're sewing seams, you want the feed dogs up. If you were doing free-motion quilting (which we're not doing in this series), you'd lower them—but for now, leave them up.
The thread cutter is a small blade built into the side of many machines that lets you snip your thread at the end of a seam with one quick motion. If your machine has one, you'll use it constantly. If it doesn't, a pair of thread snips nearby works just as well.
The reverse stitch button lets you sew backward for a stitch or two at the beginning and end of a seam, which locks the stitches in place. Some machines have a thread locker that does this automatically. Either way, you've got it handled.
The presser foot pressure knob controls how much downward pressure the foot puts on your fabric. For basic quilting, leave it at the factory setting. You don't need to adjust this until you're working with unusually thick or delicate material.
What's Next
In the next lesson, we'll talk about choosing fabric — and this is where things start to get exciting. Picking the right fabrics for your first quilt makes a bigger difference than most beginners expect, and it's one of the things we care most about at Jittery Wings.
In the meantime, here's how to get everything you need to follow along.
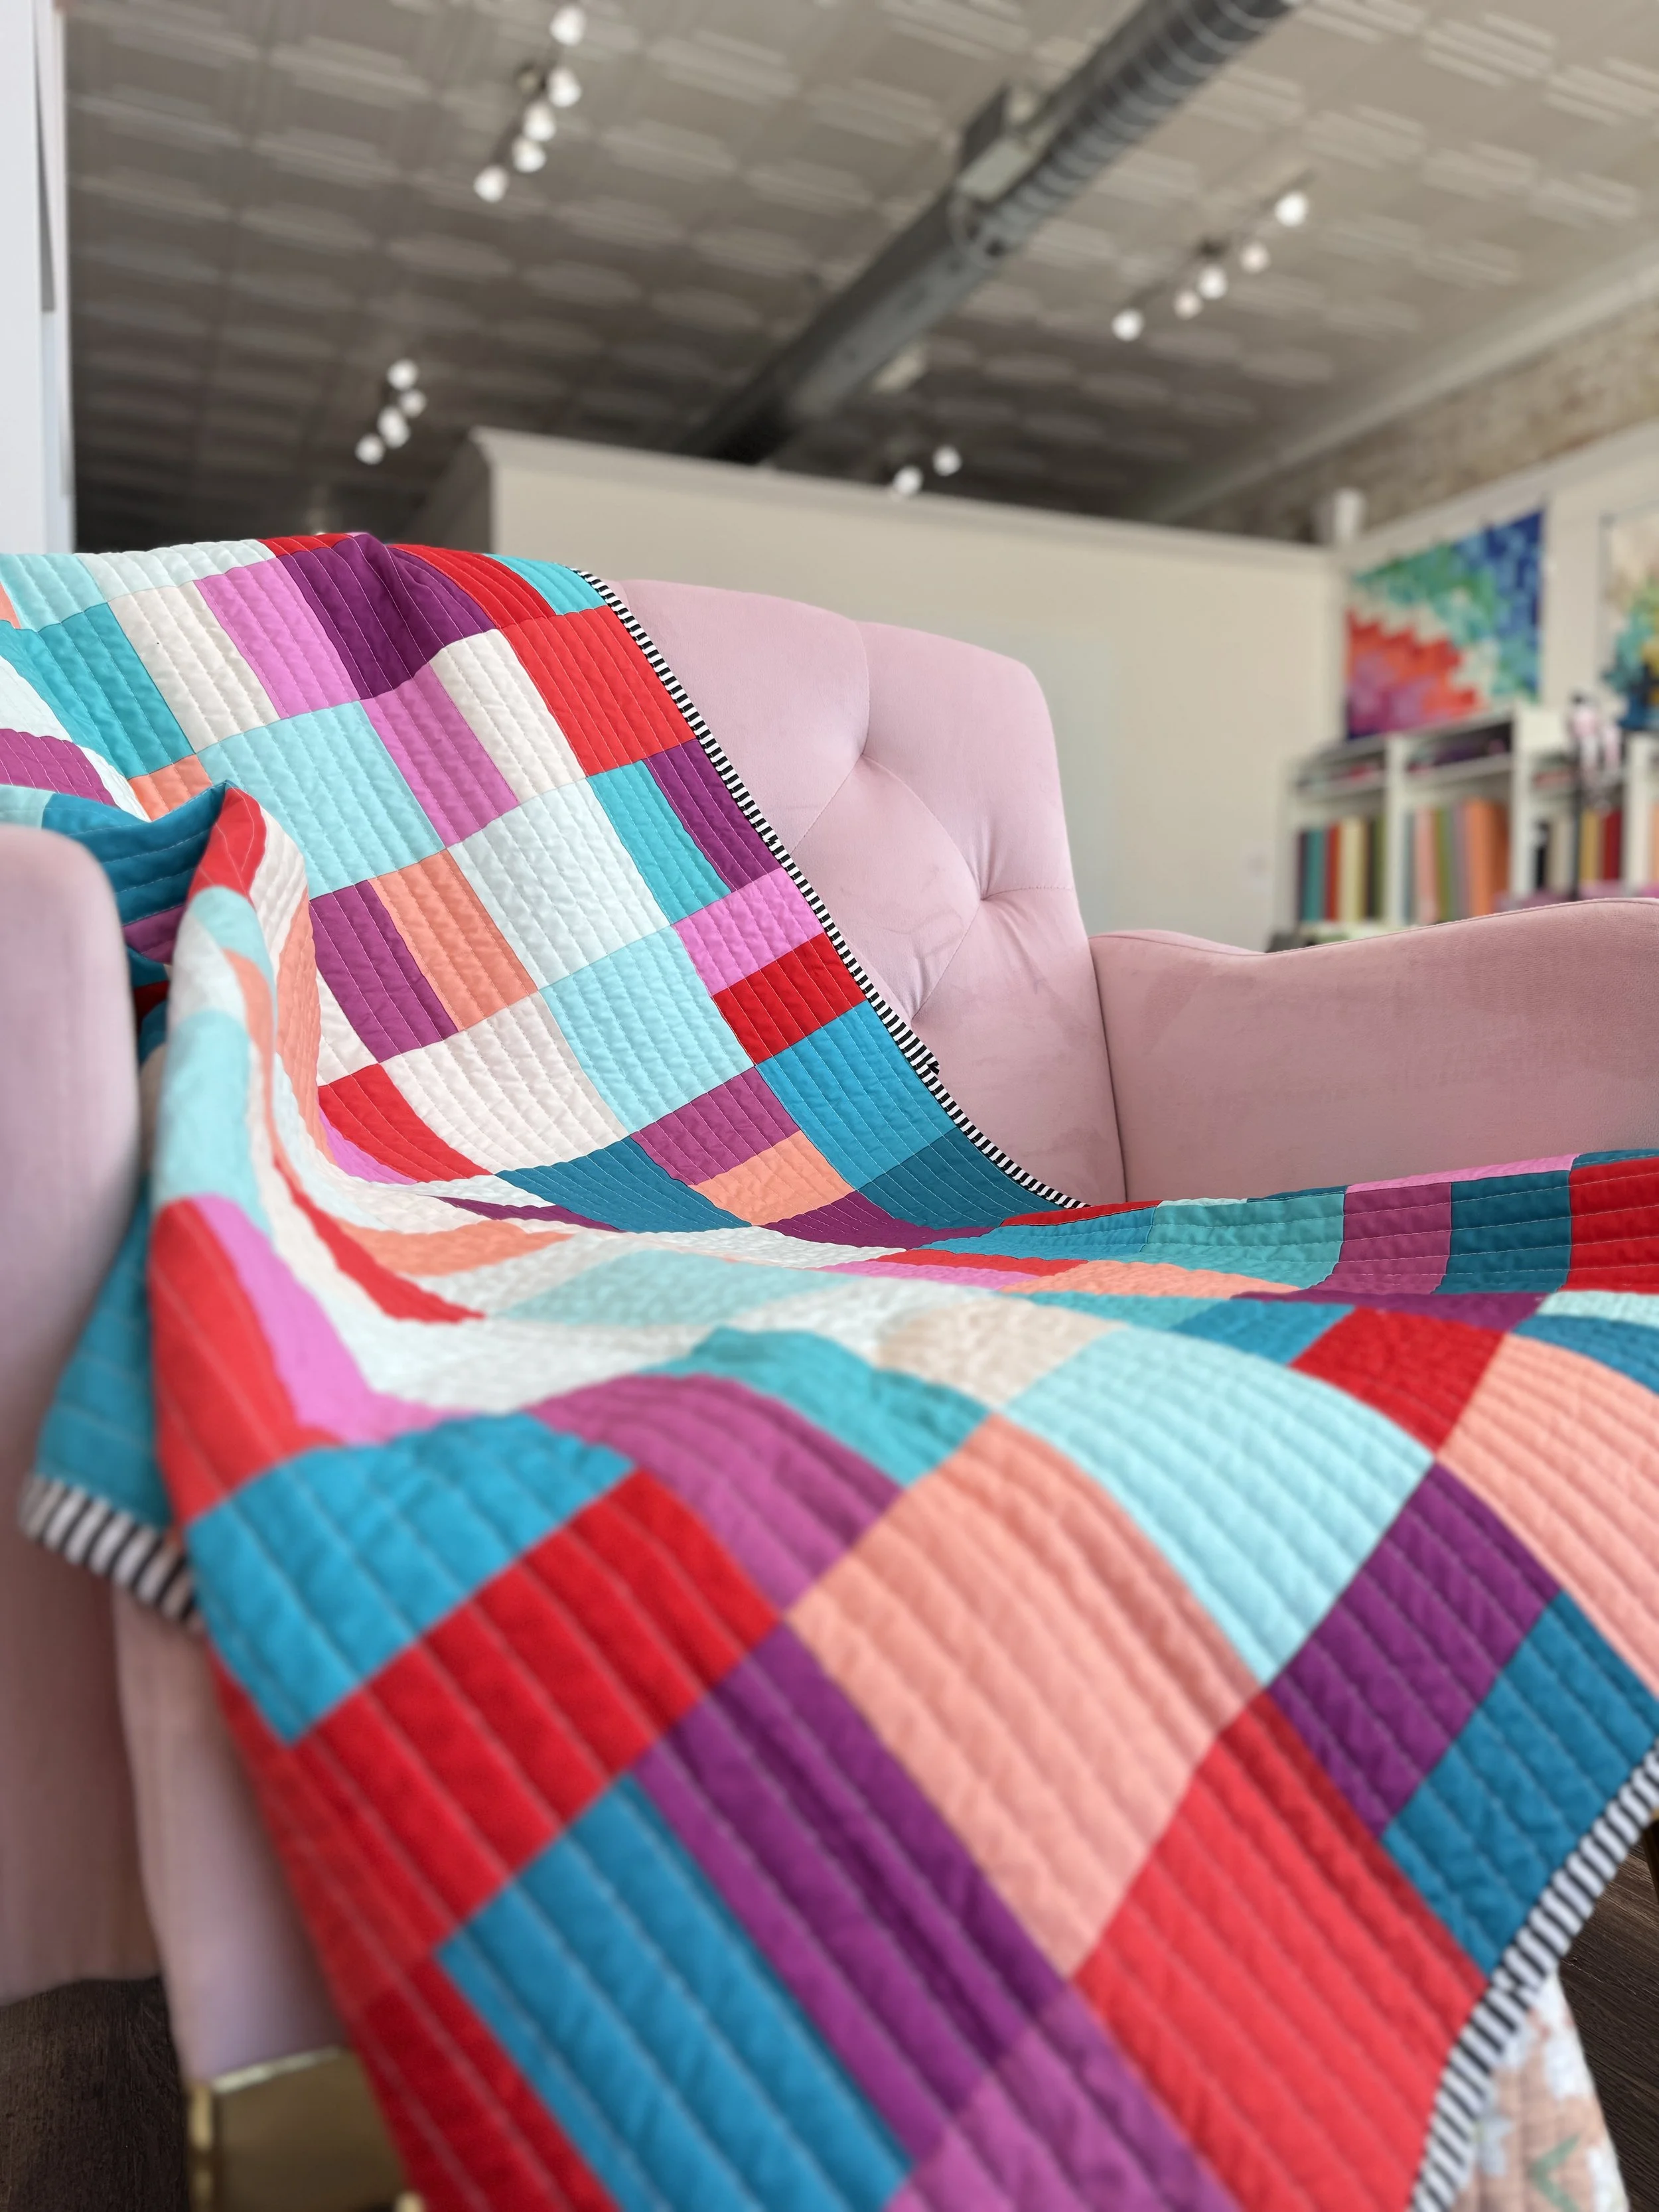
🆓 Get the free Sidewalk Cracks pattern here: https://jitterywingsquiltco.com/brave-beginner-quilt-course
🎨 Need help choosing your own fabrics? The Color Flow Theory course walks you through building a palette you'll love: https://jitterywingsquiltco.com/color-flow-theory-course
🐝 Want live support as you sew through this course? Hive+ is the Jittery Wings membership community where you can join monthly sew days with Mitzie, ask questions in real time, and sew alongside quilters who are rooting for you: https://jitterywingsquiltco.com/community-hive
Subscribe to the Jittery Wings YouTube channel so you catch every new lesson when it drops. And leave a comment — what tool surprised you most? We'd love to know.
See you in the next lesson, where we meet the sewing machine. 🐝
Warmly, Mitzie