How to Cut Fabric for a Quilt: Reading the Pattern and Cutting Fat Quarters
How to Cut Fabric for a Quilt Without Second-Guessing Every Cut
There is something about picking up that rotary cutter with your good fabric in front of you that makes every beginner pause. You've got the tools. You've got the pattern. But reading the pattern, knowing where to start, and actually making those first cuts — that's a different thing entirely.
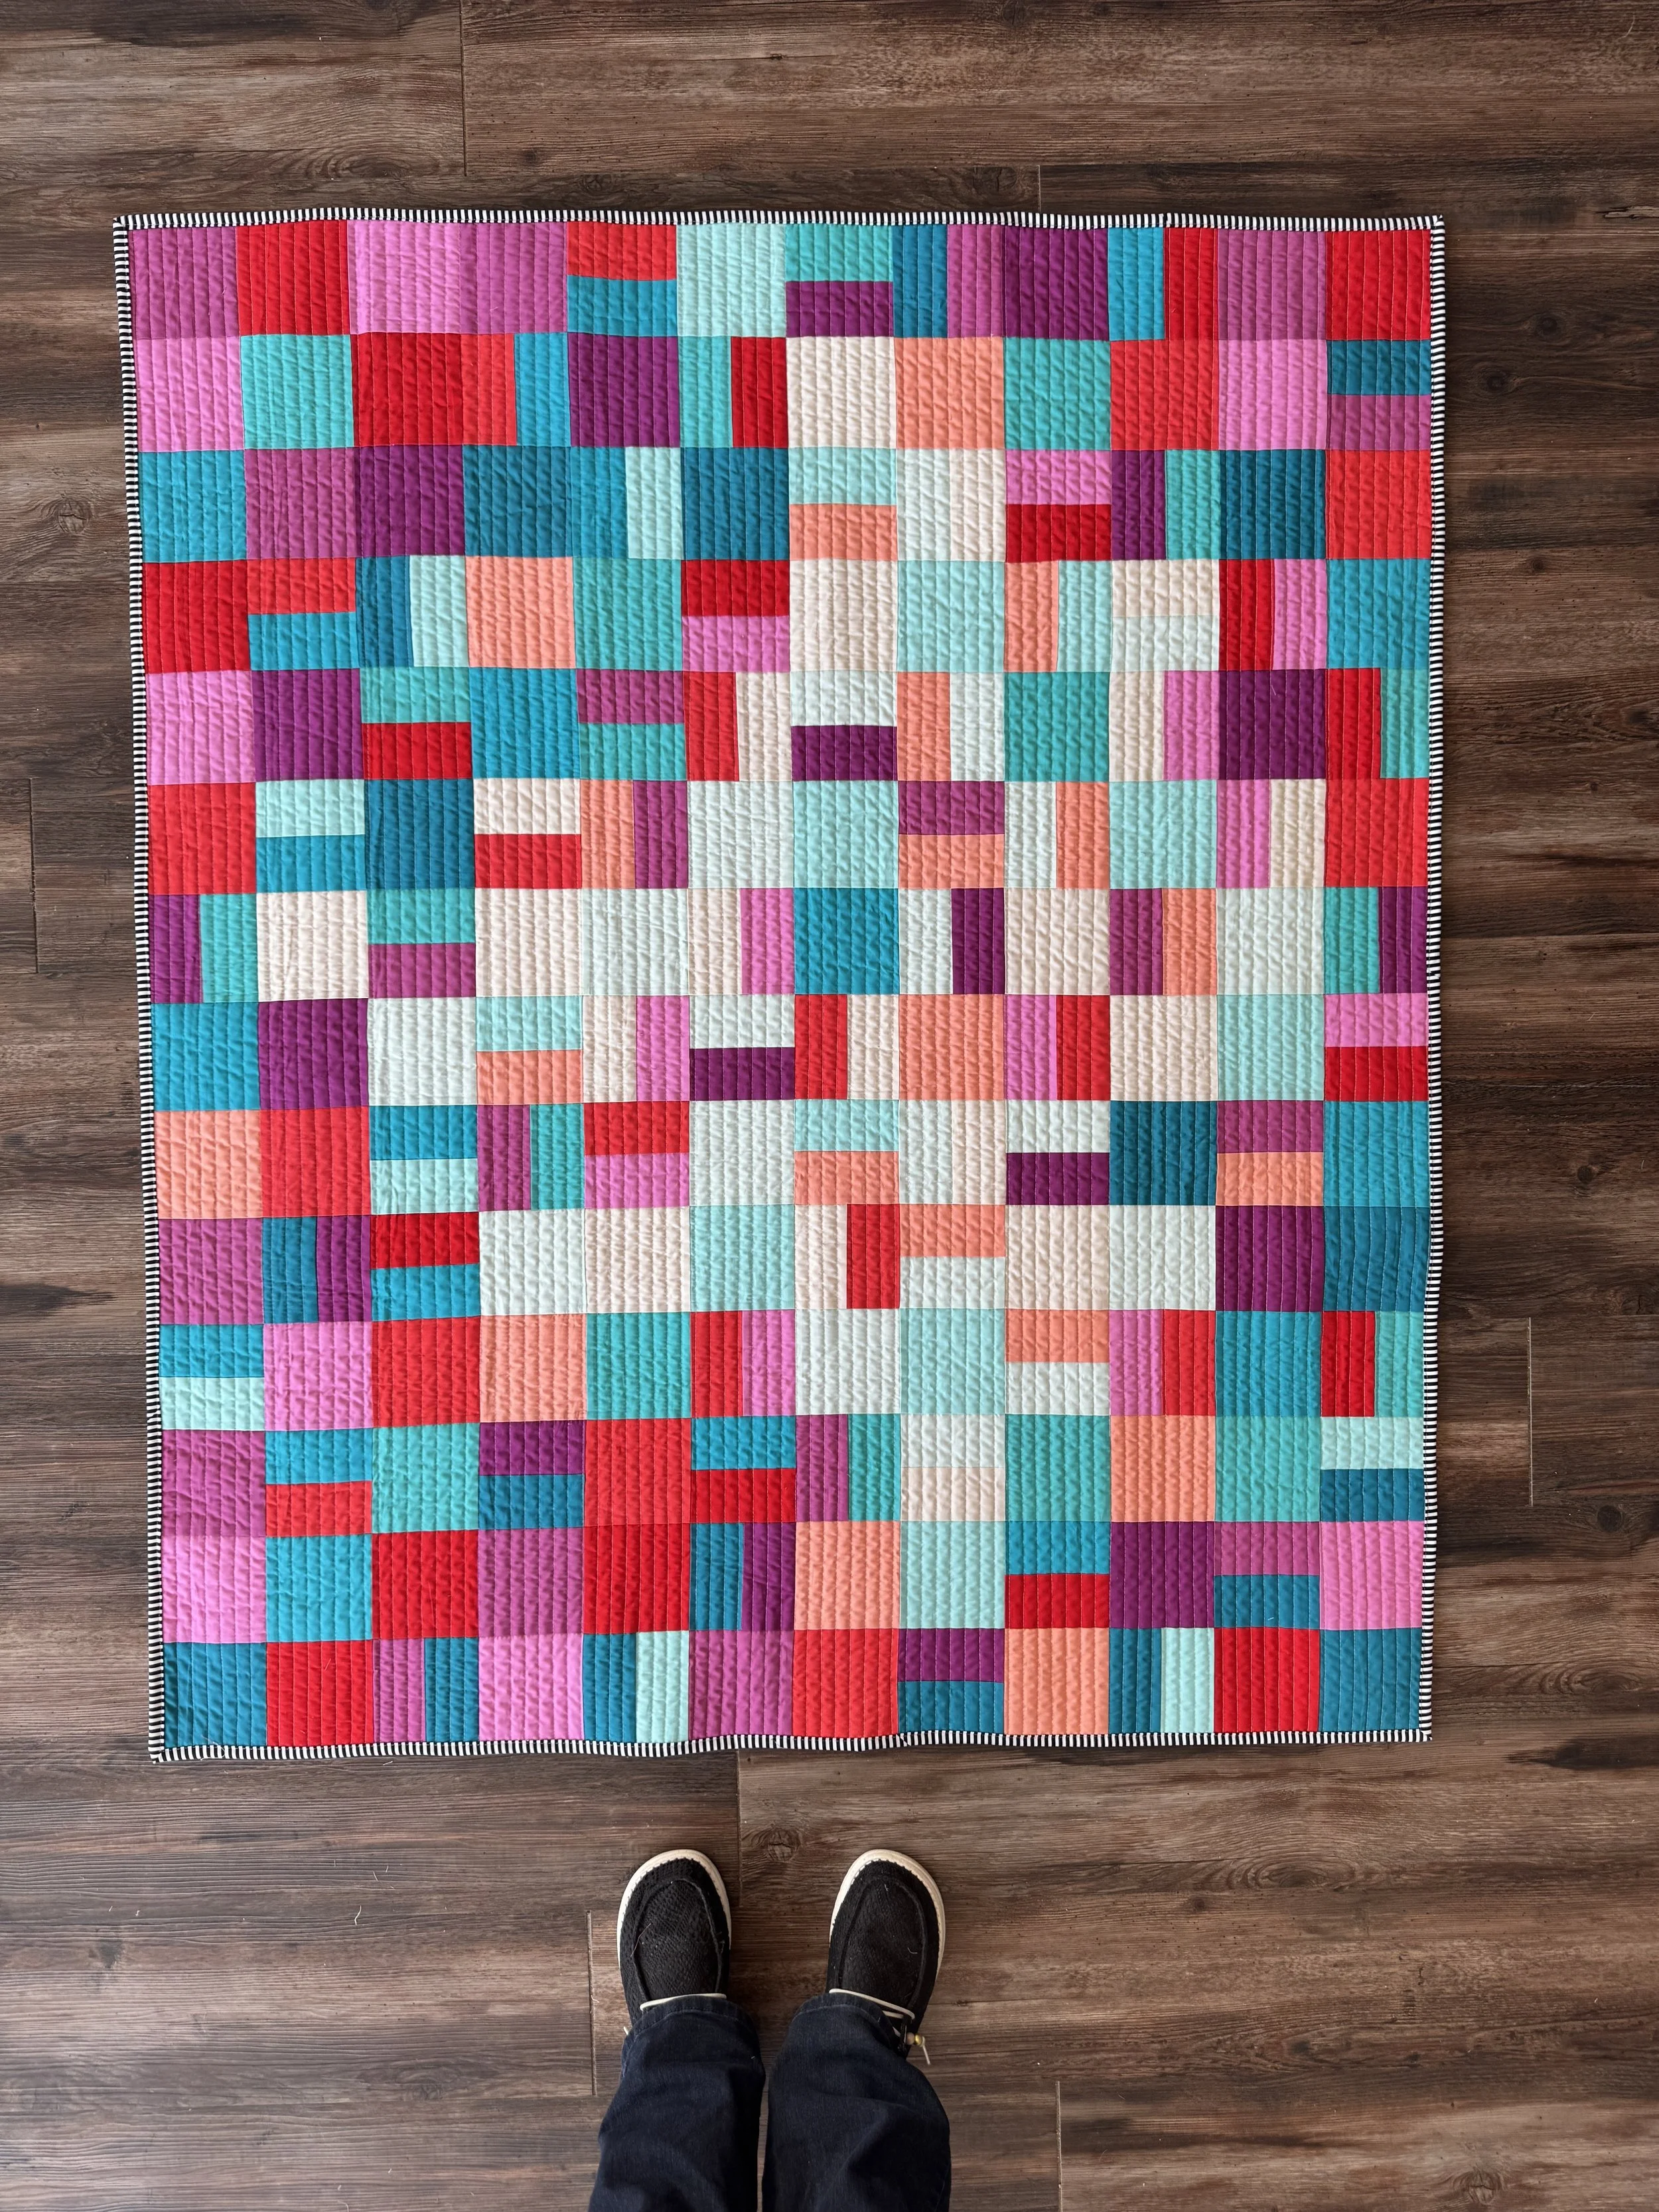
In this lesson of the Brave Beginner Quilt Course, I sit down at the cutting table with studio assistant Kelly and walk her through cutting her fat quarters for the Sidewalk Cracks pattern. Kelly is a first-time quilter, and this lesson is exactly what it looks like to figure it out in real time — questions, small mistakes, adjustments, and all.
Start With the Pattern, Not the Fabric
Before you touch your rotary cutter, read the pattern. The whole thing. I know it can feel intimidating when you're staring at cutting diagrams and measurements, but here's what I told Kelly: the pattern is just telling you what to cut and in what order. That's it.
For the Sidewalk Cracks pattern, we start by trimming one edge of the fat quarter to get a clean, straight line to measure from. You only need to do one edge for this pattern because we're cutting strips first. Once you have that clean edge, everything else follows from it.
Cut Your Biggest Pieces First
This is a tip I give every beginner, and it has saved more quilts than I can count. Always cut your larger pieces before your smaller ones. If your ruler slides a little and you need to trim and re-cut, you want that mistake happening on your smaller strips — not on the big pieces you needed most.
For this pattern, Kelly cuts her four-and-a-half-inch strips first, then her two-and-a-half-inch strips. Then each strip gets subcut into squares. Bigger to smaller, every time.
Use the Mat, Not Just the Ruler
One of the biggest shifts I see beginners make is learning to use the mat as their measuring guide instead of relying only on the ruler lines. Rulers and mats are made by different manufacturers, and sometimes they don't line up perfectly. When I'm cutting squares, I use the mat lines to position my fabric and the ruler as a straight edge. That combination gives me the most accurate cuts.
If your ruler keeps sliding on you, look into a wider ruler with built-in grippers. Creative Grids rulers have them built in, and a wider 12-and-a-half-inch ruler gives you more surface to hold steady. It's not a must-have, but it makes a real difference when you're still learning the feel of things.
Slow Down and Let It Be Okay
Kelly noticed something in this lesson that I think is worth repeating: when she stopped pushing so hard, the cuts got better. Tension makes you grip tighter, press harder, and lose control of your tools. The more relaxed you are, the more accurate you'll be.
You are allowed to cut one piece at a time. You are allowed to move your fabric and reposition between cuts. You are allowed to take as long as you need. Some quilters at my retreats cut their whole quilt in two hours. Some take a full day. Both quilts come out beautiful.
Ready to Start Sewing?
Once your fat quarters are cut and your pieces are sorted, the next step is heading to the sewing machine to sew those strips together. That's where the quilt starts to become a quilt — and yes, Kelly is nervous and excited in equal measure.
If you haven't grabbed the free Sidewalk Cracks pattern yet, you can get it here: https://jitterywingsquiltco.com/brave-beginner-quilt-course
Still not sure about your fabric colors? The Color Flow Theory course is the fastest way to go from second-guessing to confident: https://jitterywingsquiltco.com/color-flow-theory-course
And if you want company while you sew — questions answered, encouragement on tap, and a community of quilters who get it — that's what Hive+ is for: https://jitterywingsquiltco.com/hiveplus
You're doing great. See you in the next lesson. 🐝
Warmly, Mitzie