
DIY The Best Quilt Design Wall Ever (And It's Easier Than You Think)
If you've ever draped a quilt block over a door or pinned fabric to a regular wall and thought there has to be a better way — there is. This is my absolute favorite design wall setup, and I get asked about it constantly. So let's break it down!
What You'll Need
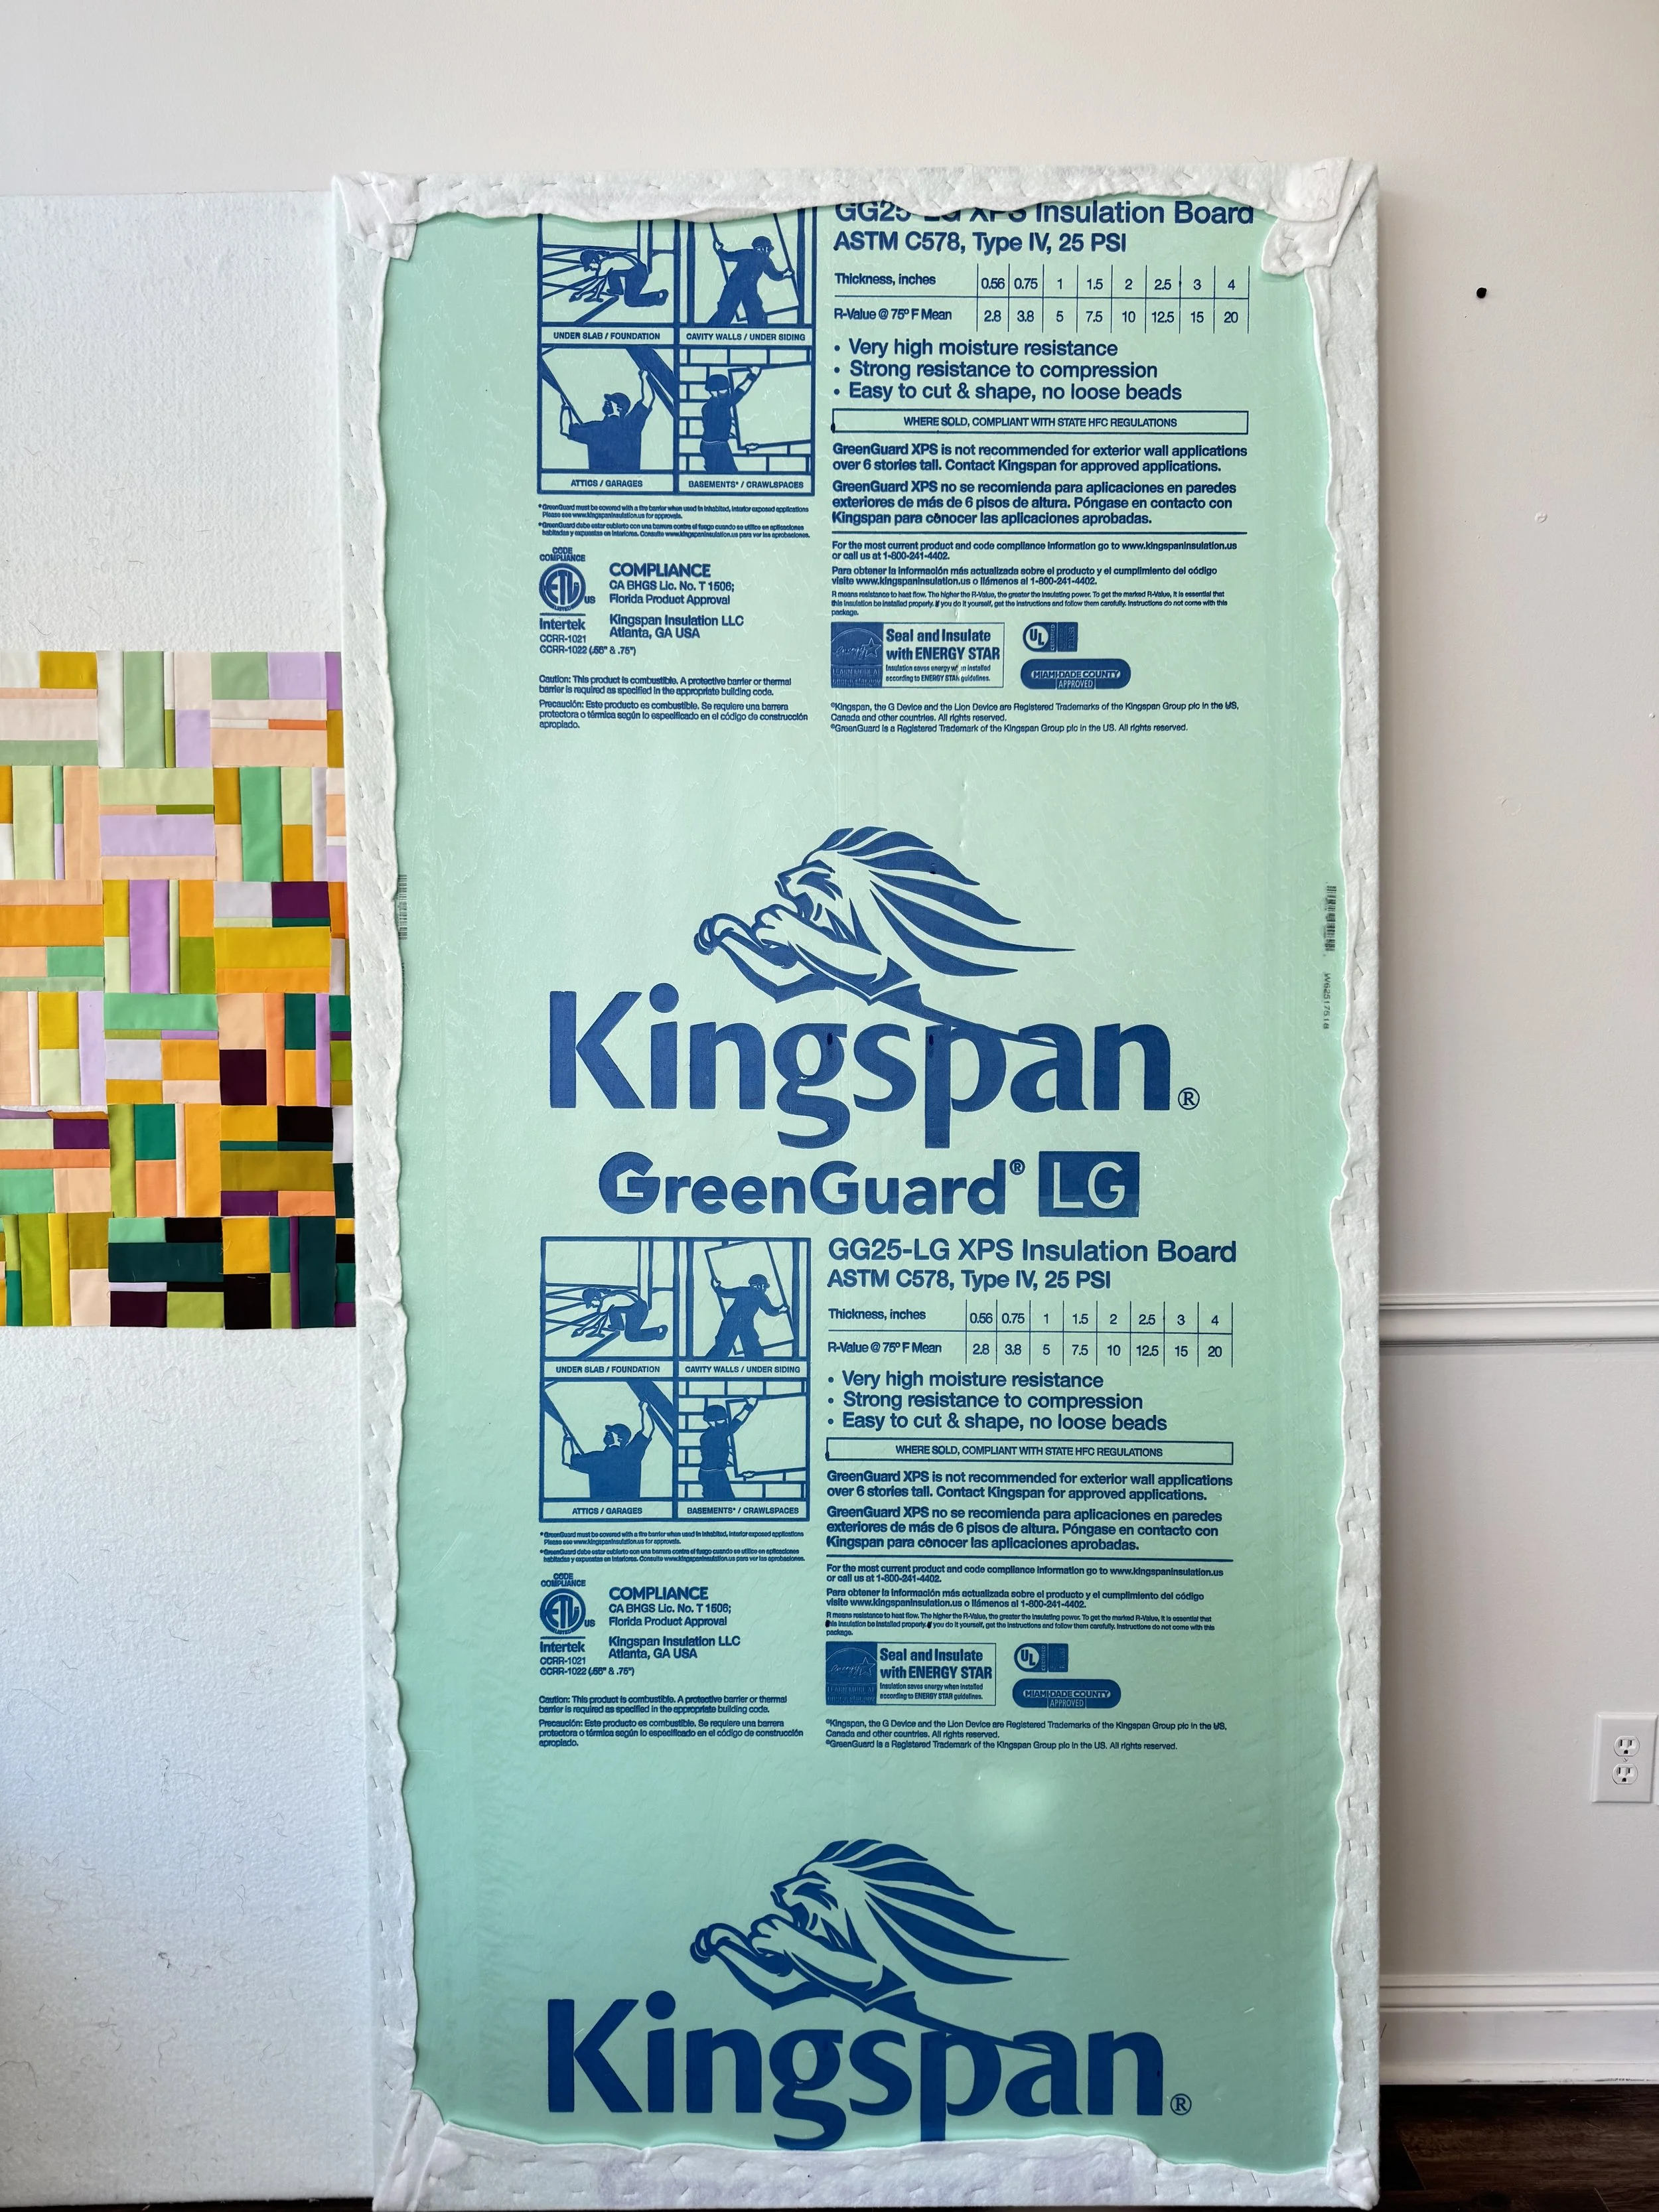
Kingspan 3/4" insulation board (available at Lowe's or Home Depot)
4' x 8' sheets (with two sheets next to each other you can usually lay out a Queen size quilt)
White bleached queen size batting (one package will likely make two panels)
Regular stapler and staples
PRO TIP FROM PAULETTE: A vehicle large enough to get the 4’x8’ board home without bending it!
Watch the Reel
How to Make It
Start by measuring the actual size of your batting.
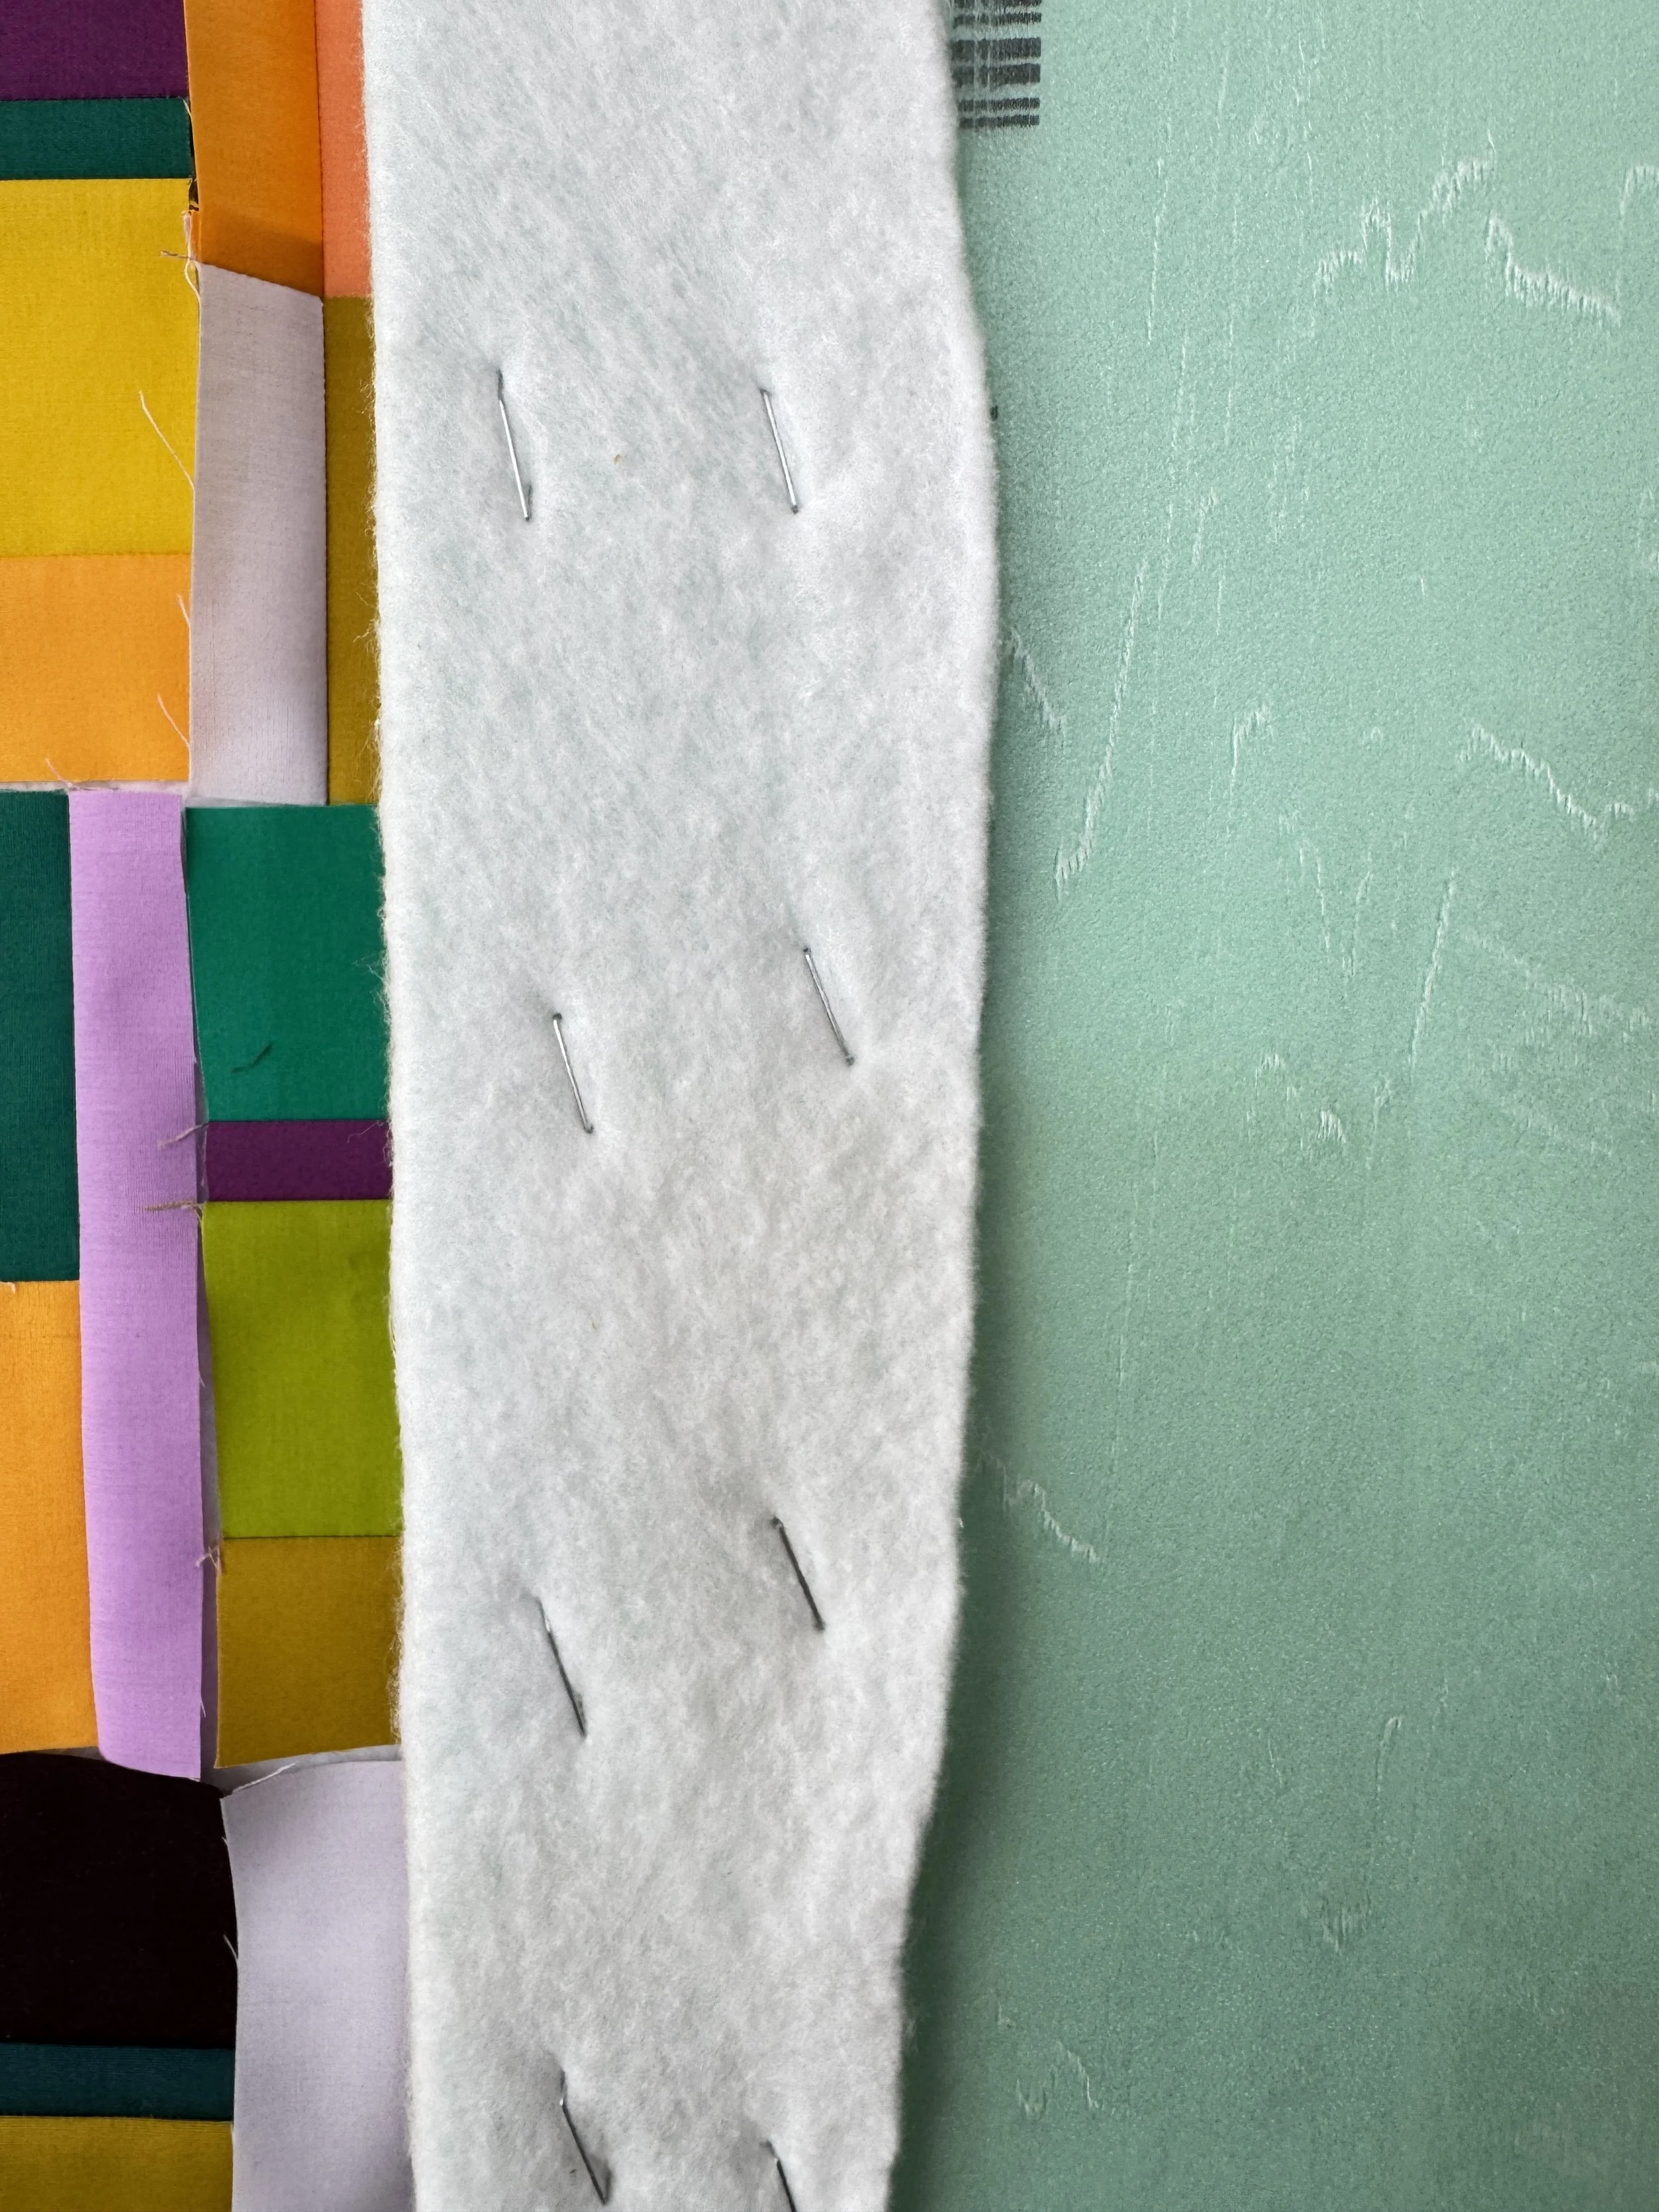
Lay your batting on a large clean flat surface like a floor or counter/table. Position it so the top and one side of the batting is at a corner of the surface.
Pace the board blank-side-down on top of it, and wrap the batting along one side tightly around to the back, just like you're wrapping a gift. You need about 2” on the back overlap in order to staple it. NOTE: If the labeled side is behind the batting, it will show through.
After wrapping one side, then to the top edge.
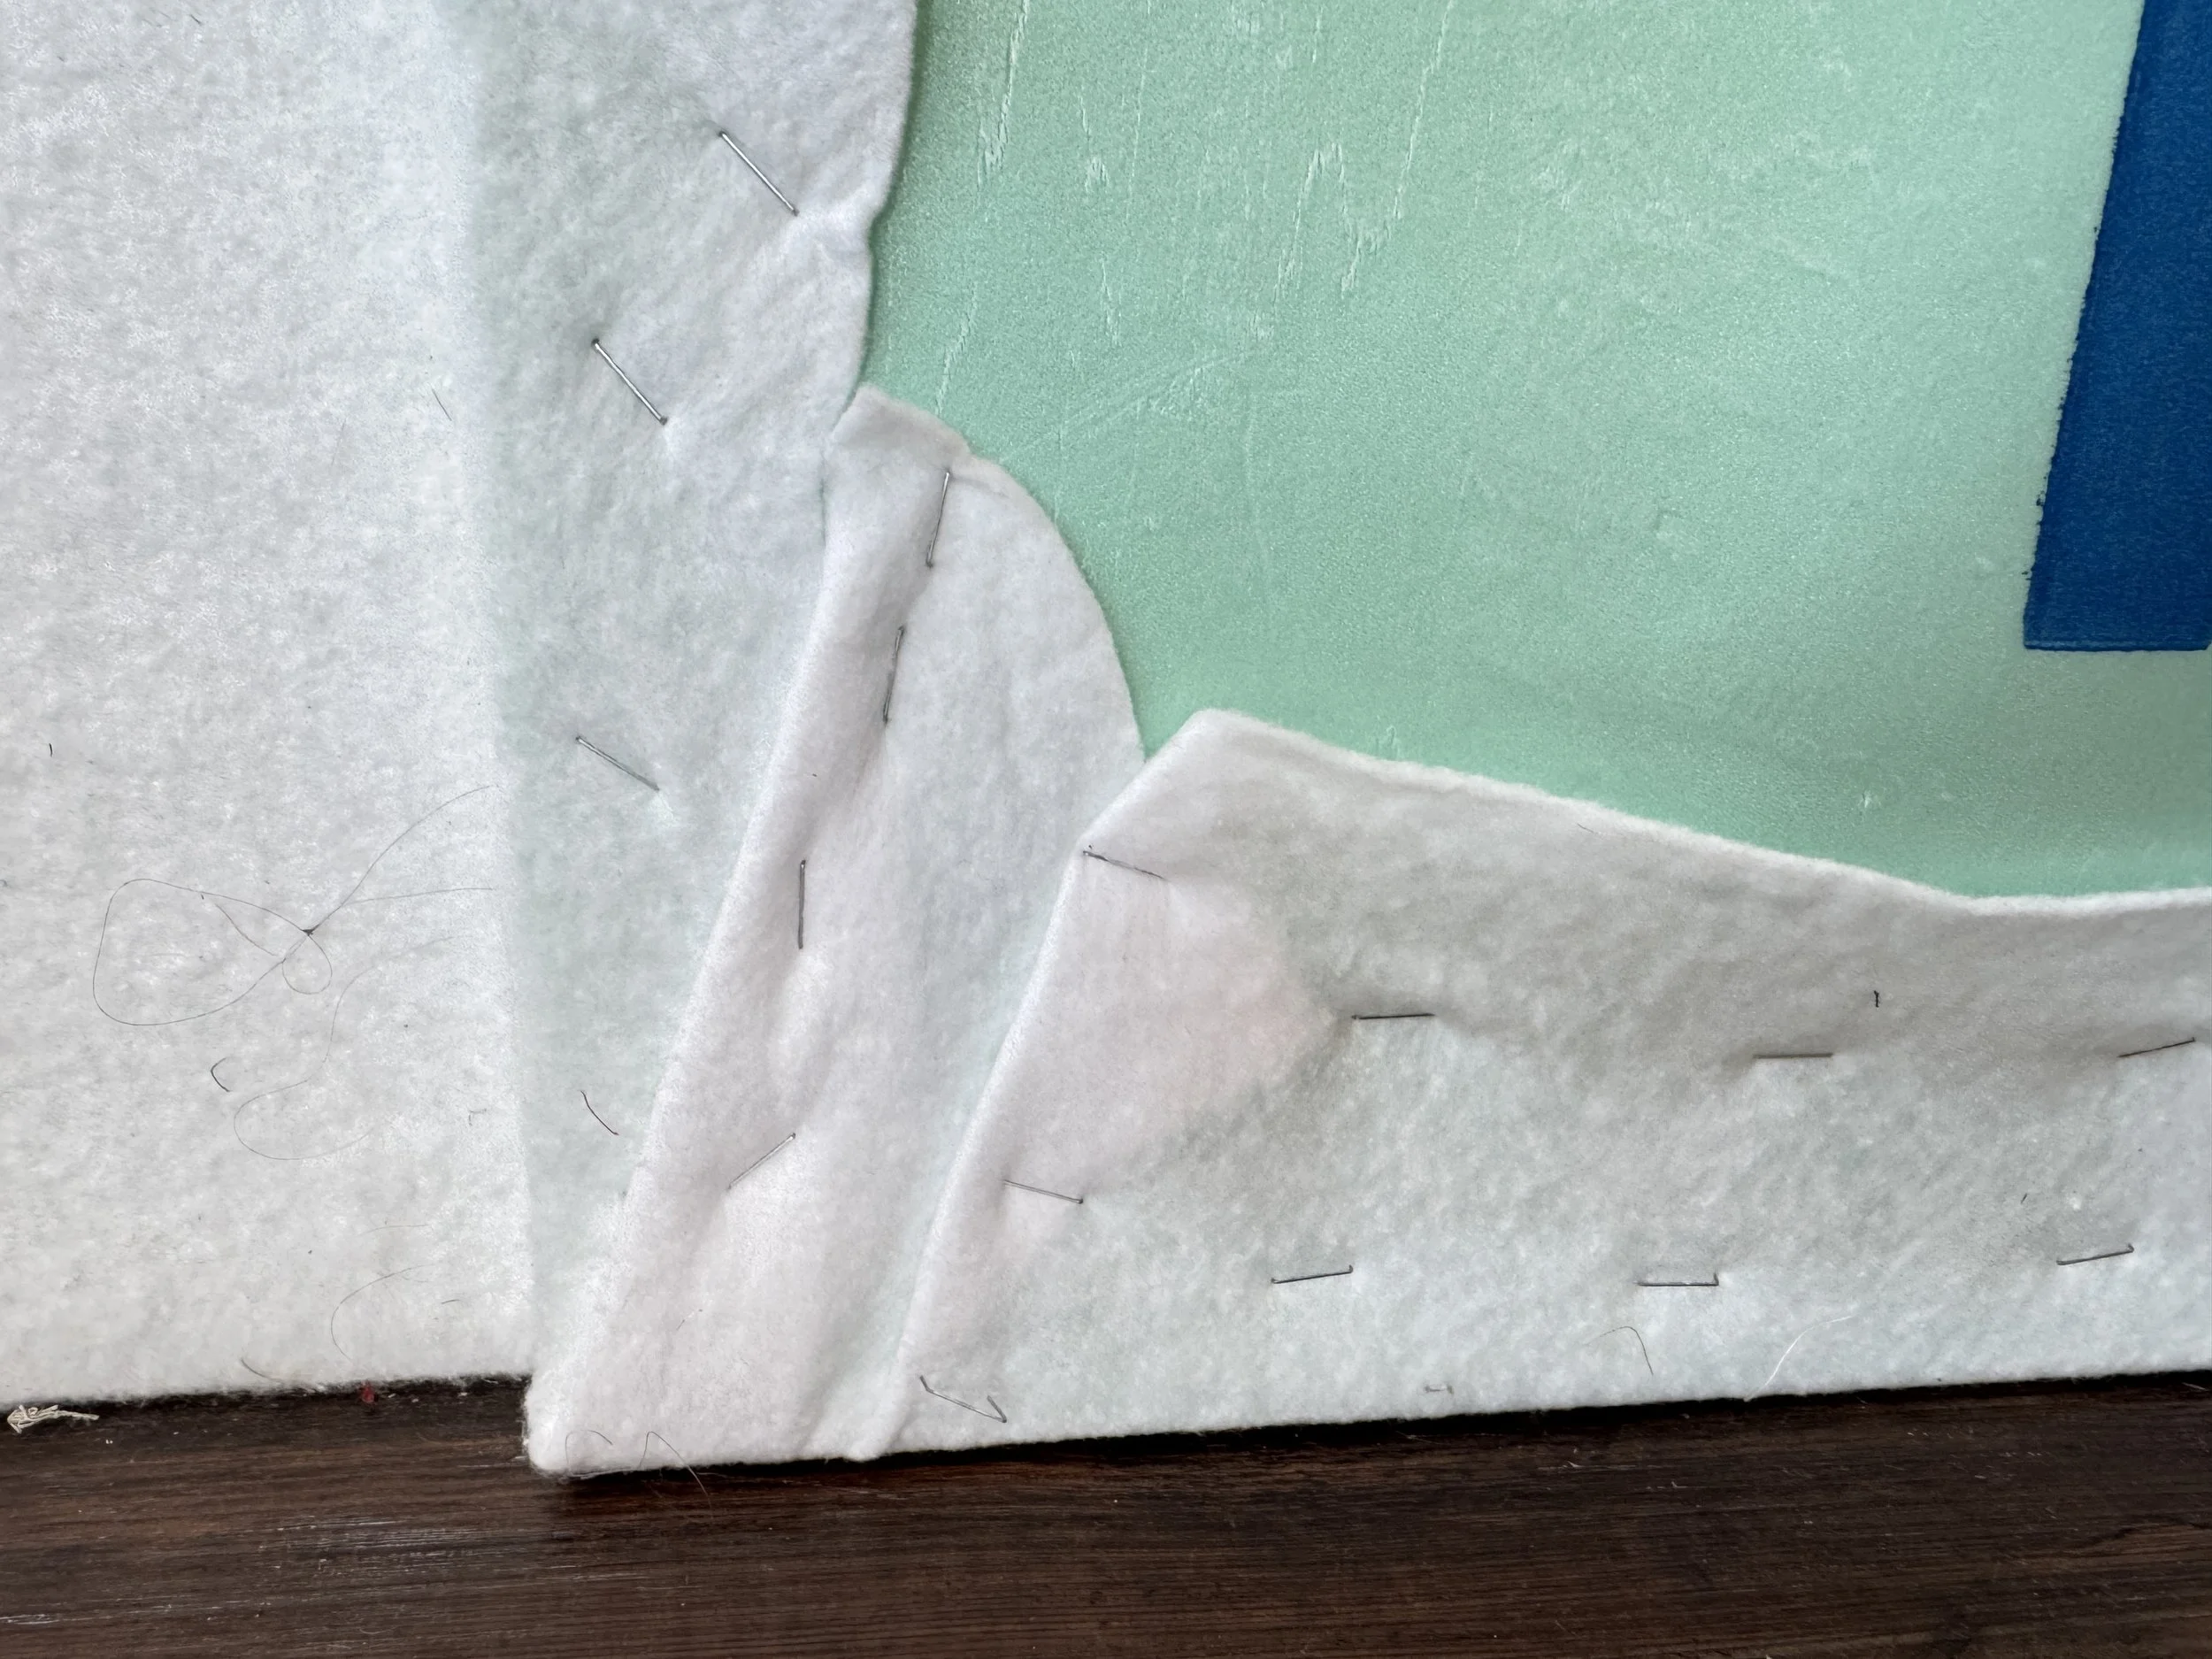
Cut your queen size batting so that you have enough overlap for the other side and bottom. Depending on the brand, batting is sometimes cut a little generously — you just might get lucky and have enough for two design walls out of a single package!
Staple it securely all the way around the back of the board. pulling the corners over each other neatly.
Why This Design Wall is a Game Changer
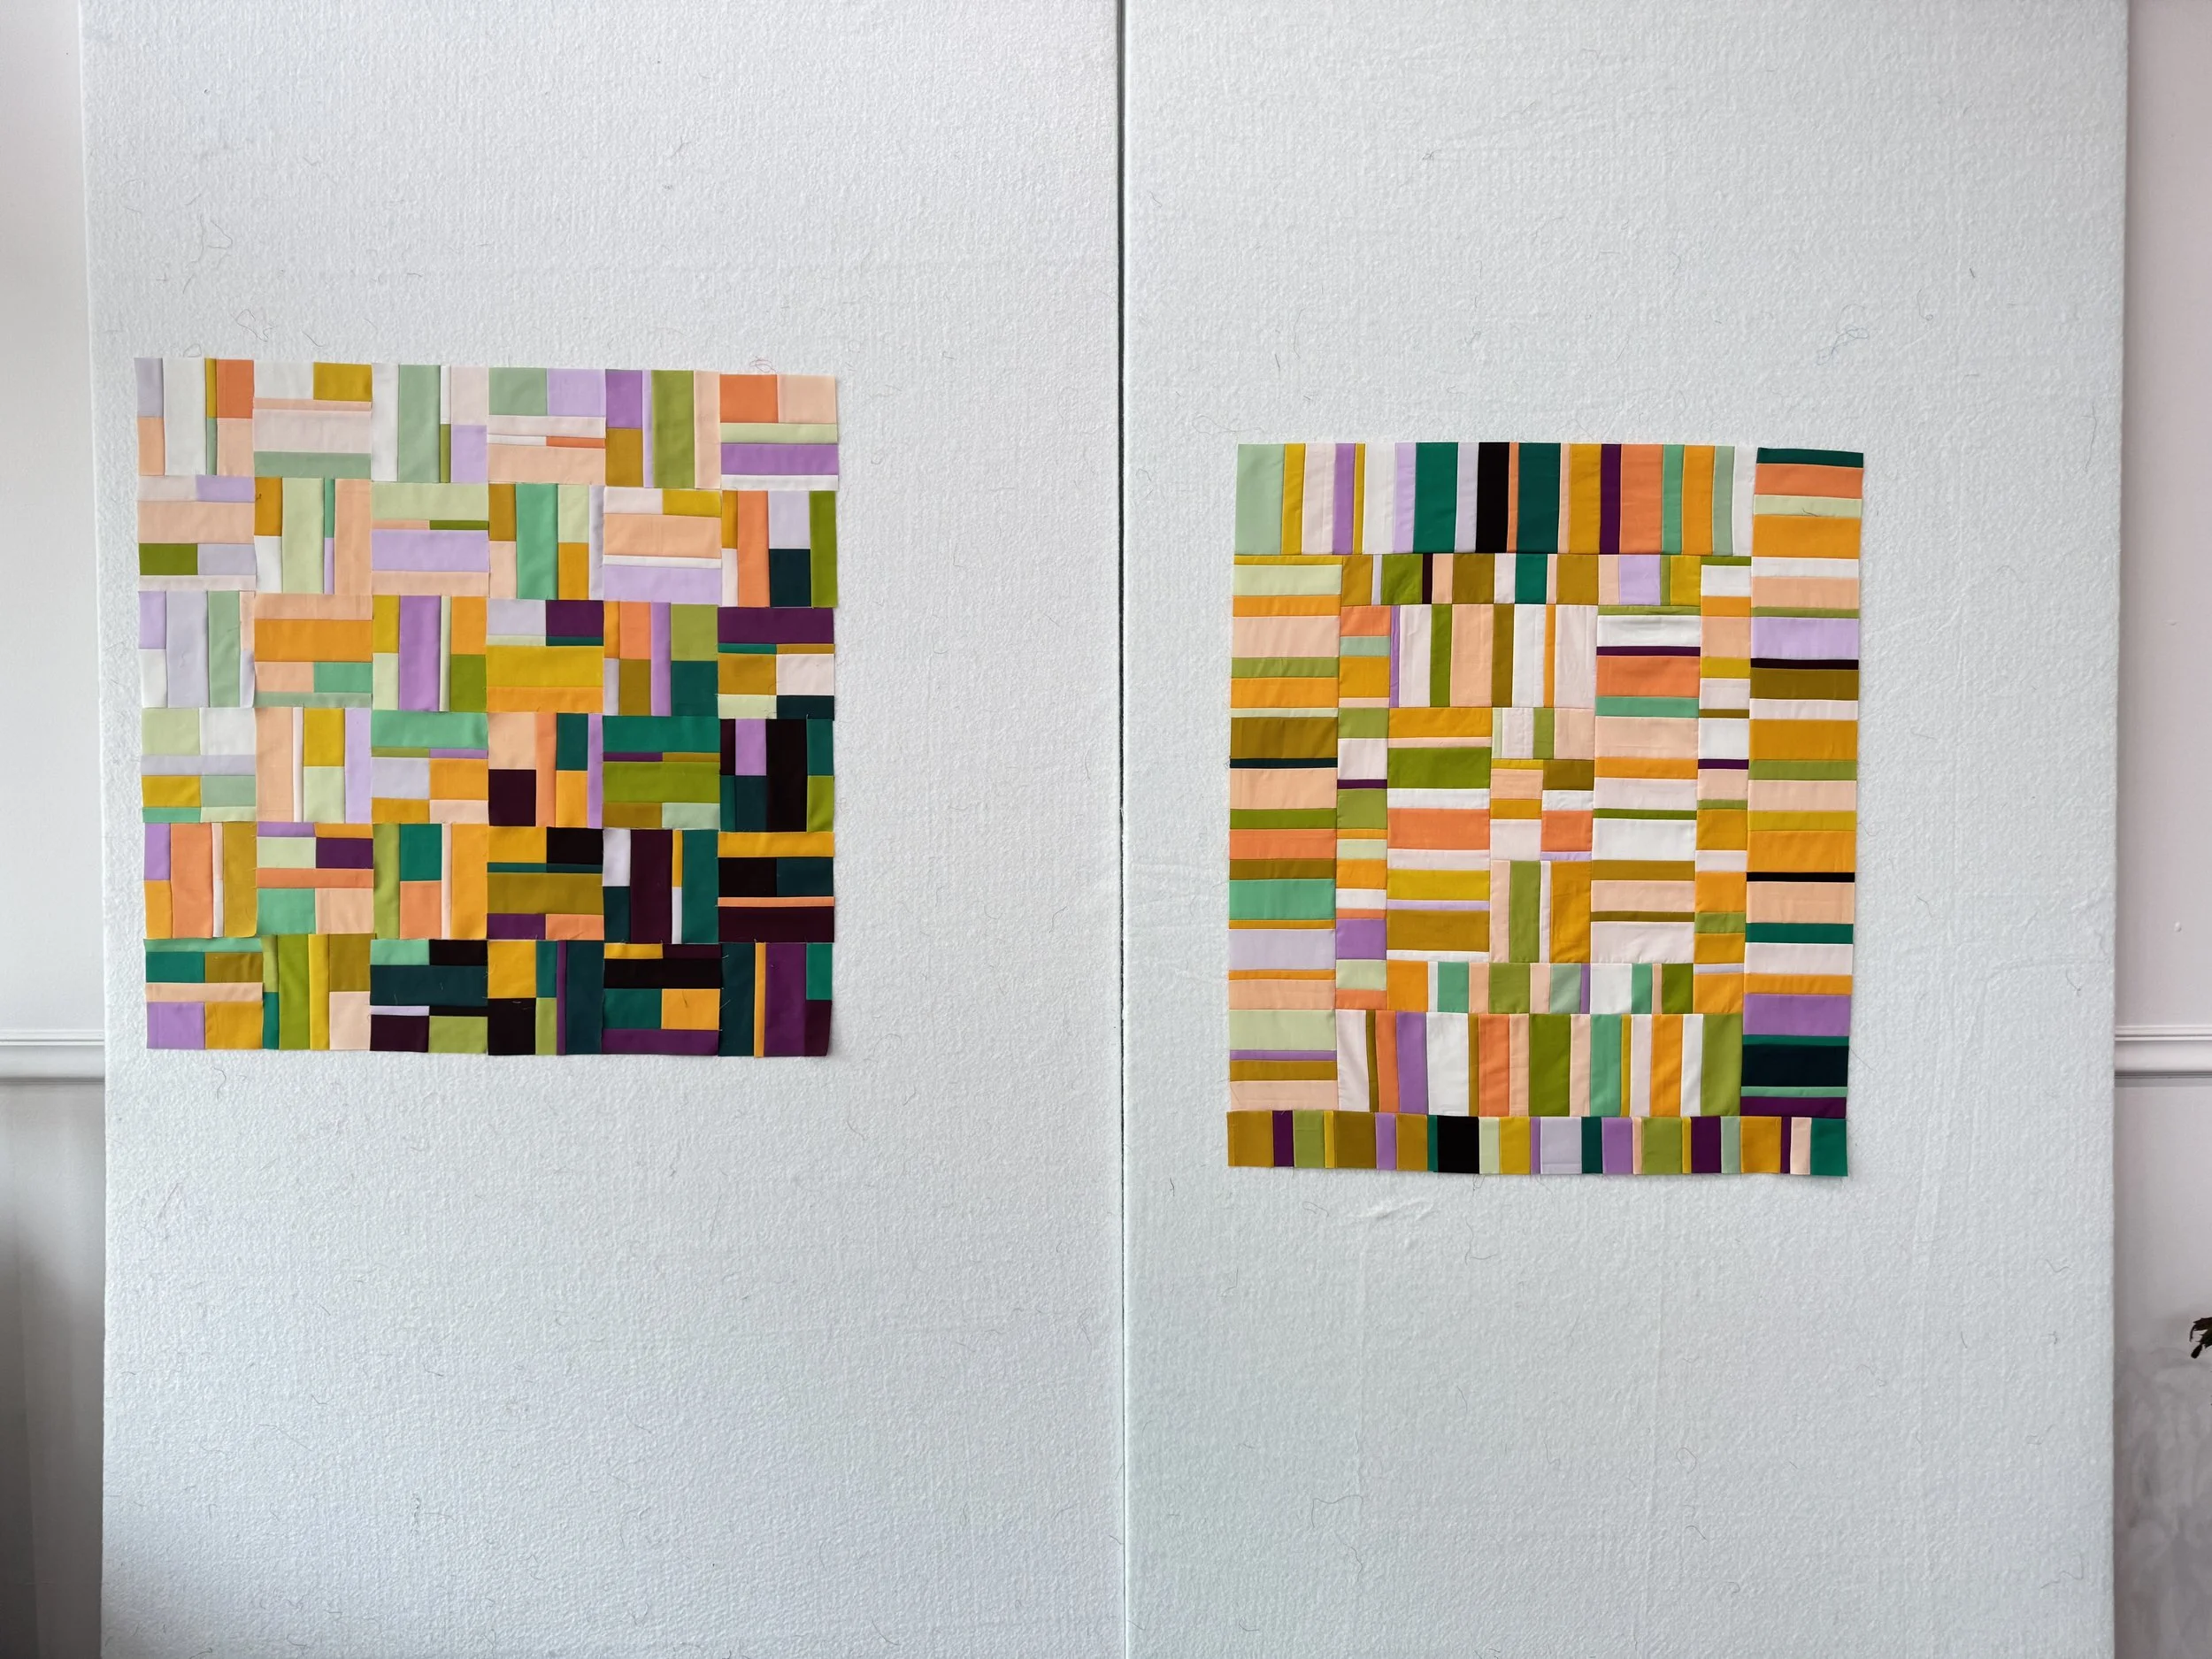
Because the boards aren't mounted to the wall, you can move them anywhere in your sewing space. Tuck them behind a door, slide them behind a bookshelf, or lean them wherever the light is best. Your quilt blocks will cling to the batting without pins, and the white surface lets you see your colors and layout exactly as they'll look in the finished quilt.
Two panels give you a generous design surface — plenty of room for most quilt layouts — and the whole setup costs a fraction of what you'd spend on a commercial design wall.
Small blocks usually stick without pins, but for larger designs, or when I am basting with 505 spray, I use pins around the edges to hold it tight.
Go make one. You'll wonder how you ever quilted without it!
Warmly, Mitzie
