How to Baste & Quilt Your First Quilt (Step-by-Step Guide for Beginners)

If you’re ready to take your quilt top and turn it into a finished quilt, basting and quilting are your next steps. For new quilters, these can feel intimidating — but with the right tools, clear steps, and a little encouragement, you can baste and quilt your first quilt successfully.
This beginner-friendly guide walks you through what you need, the different basting methods, how to set up your sewing machine, and step-by-step quilting instructions so you can finish your very first quilt with confidence.

What You’ll Need
Before you begin, gather these materials:
Quilt top (pieced and pressed)
Batting (cotton, polyester, or blend)
Backing fabric (a few inches larger than your quilt top on all sides)
Basting supplies – spray adhesive or safety pins
Walking foot (recommended) or darning/free-motion foot
Marking tools – chalk, hera marker, or painter’s tape
Rotary cutter and ruler
Sewing machine with strong needle
💡 Tip: Having everything ready before you start makes the process smoother and less stressful.

Step 1: Create the Quilt Sandwich (Basting)
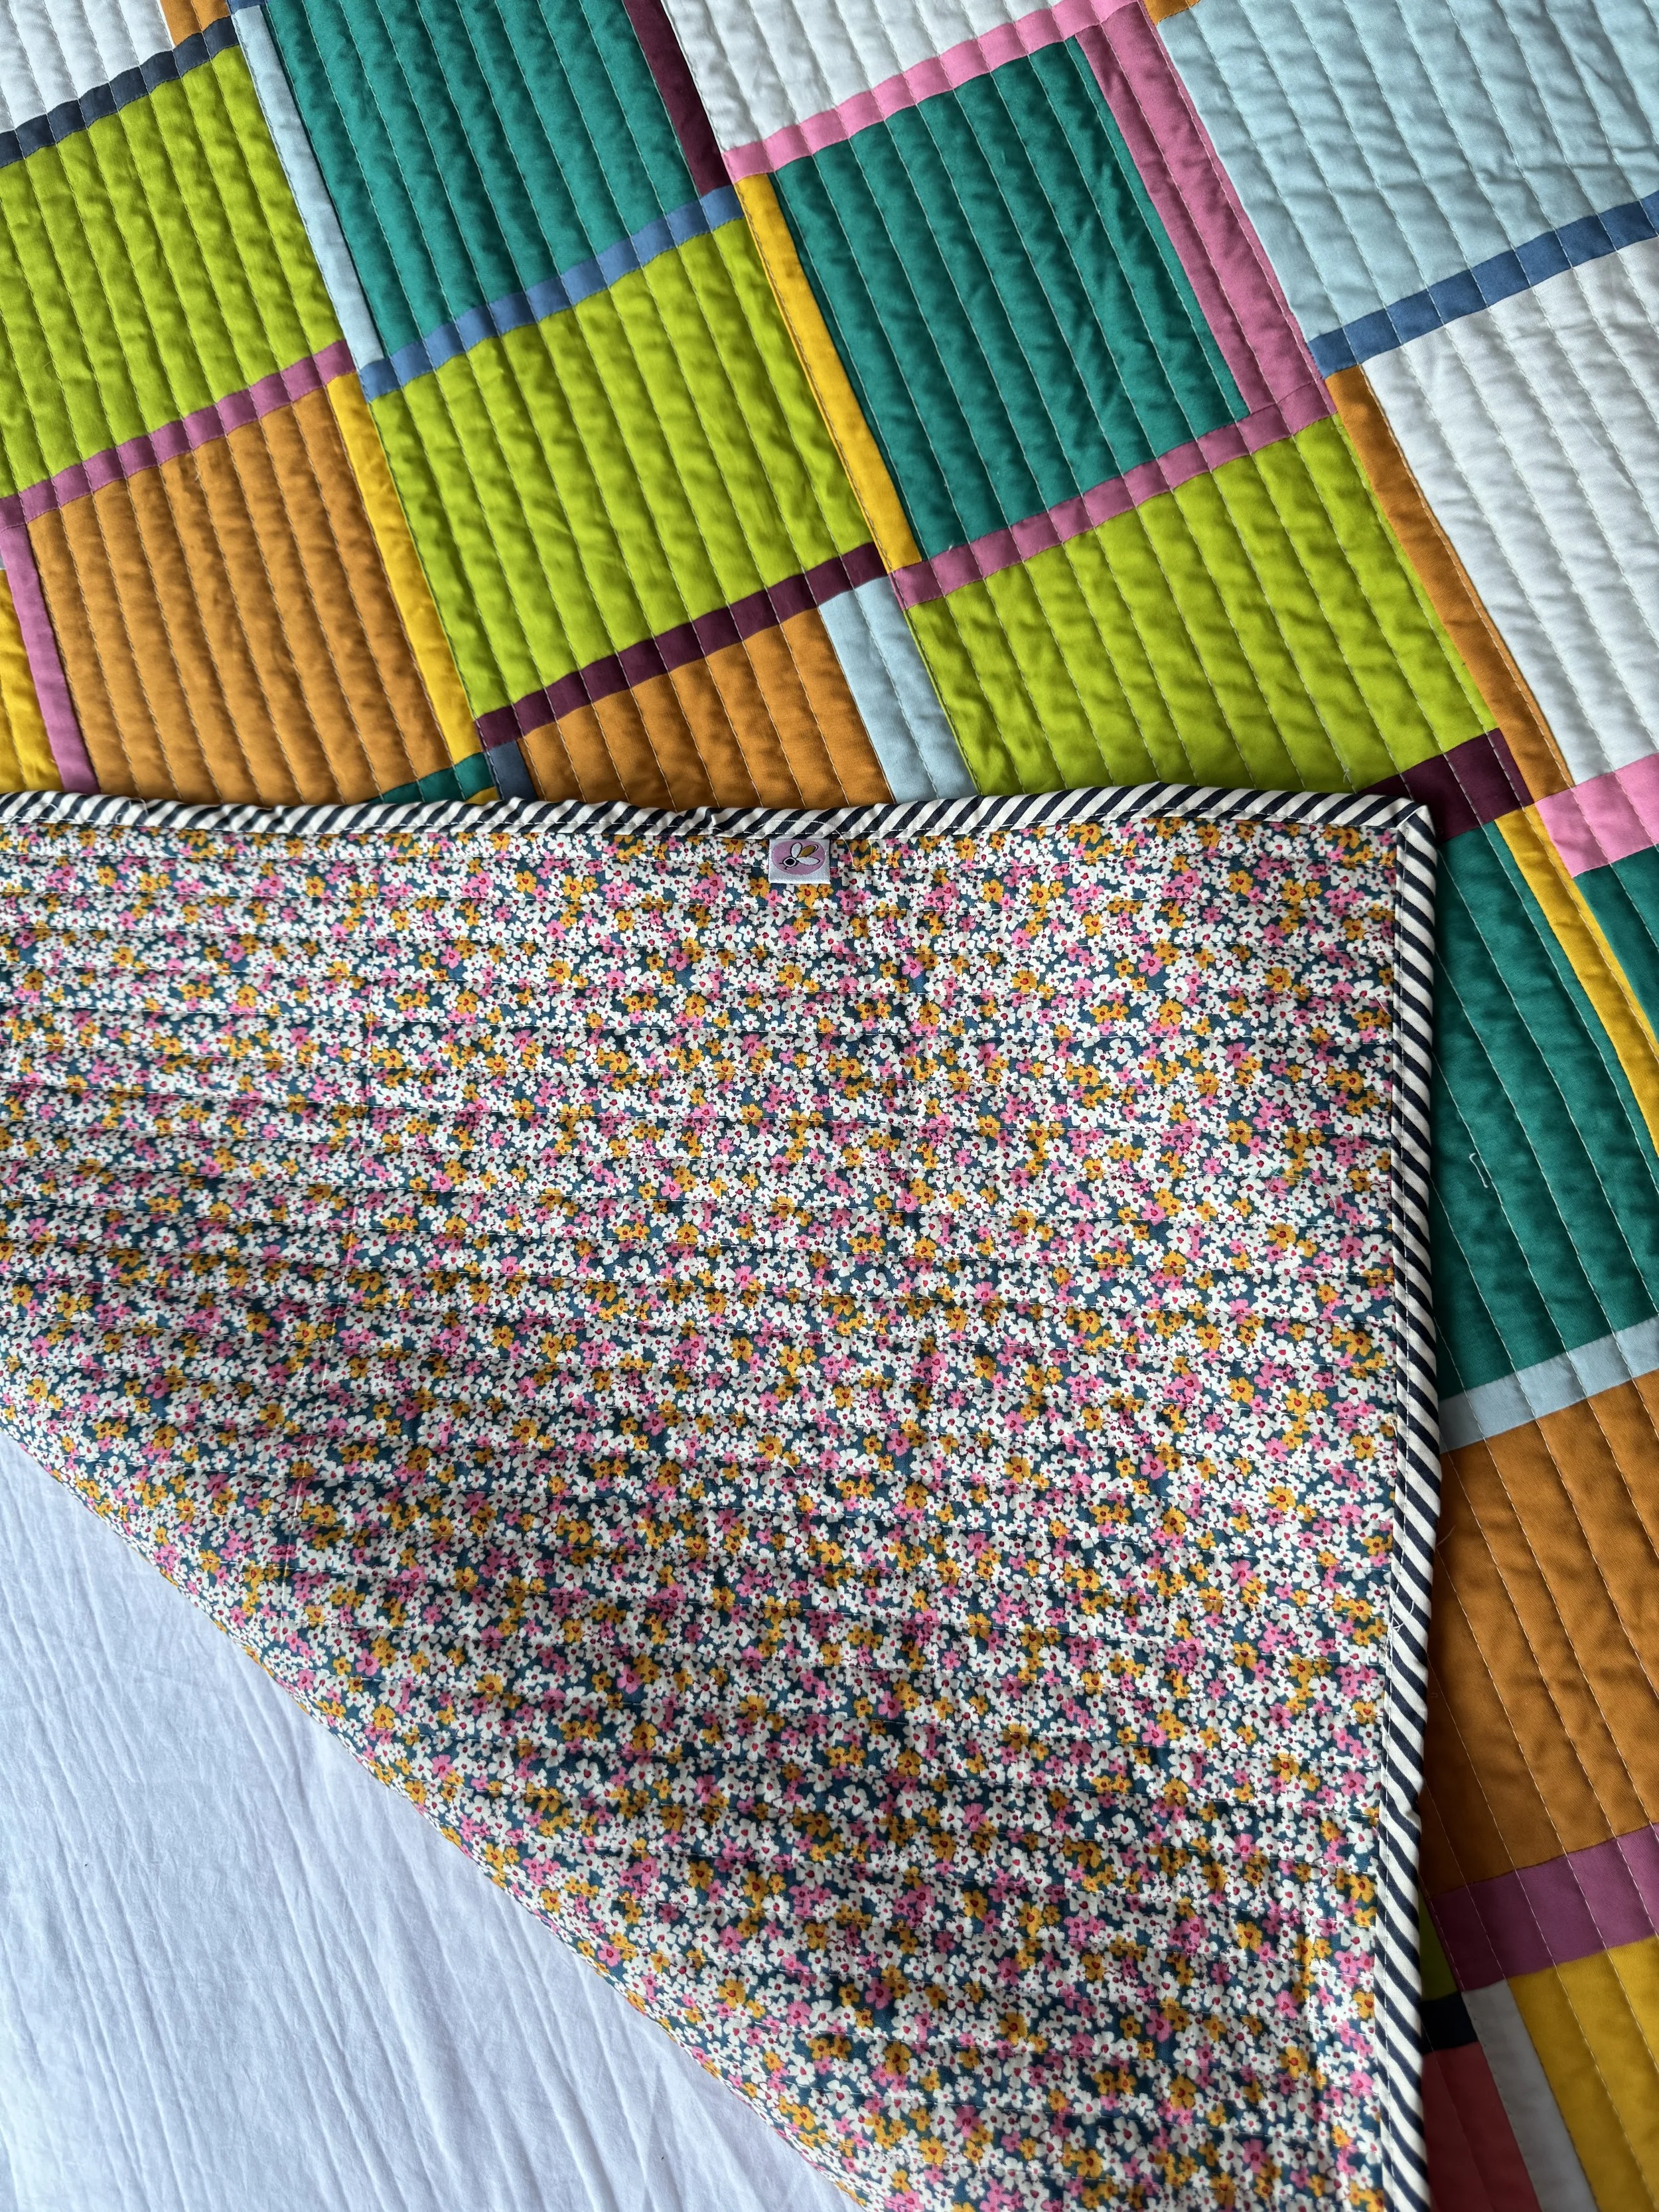
Basting holds the three layers — backing, batting, and quilt top — together so they don’t shift while quilting.
Lay your backing fabric right-side down on a flat surface. Smooth it out to remove wrinkles.
Place the batting on top, centered and flat.
Finally, add your quilt top, right-side up.
Spray vs. Pin Basting
Spray basting: Lightly spray adhesive on the batting, smoothing each layer as you go. This is quick and keeps everything flat.
Pin basting: Place safety pins across the quilt, about 4–5 inches apart. This is a great option if you prefer not to use spray.
💡 Tip: Always start basting from the center and work outward to keep layers smooth and prevent wrinkles.

Step 2: Mark Your Quilting Lines
Most beginners start with straight-line quilting. Use chalk, painter’s tape, or a hera marker to create guidelines.
Lines can be spaced ¼–1 inch apart depending on the look you want.
Diagonal or grid patterns are simple, effective, and forgiving.
Remember: quilting lines don’t have to be perfect — they add texture and personality.
Step 3: Set Up Your Sewing Machine
For straight-line quilting, a walking foot is ideal because it feeds all three layers evenly.
With a walking foot: Keep feed dogs up, use a slightly longer stitch length (3.0–3.5).
Without a walking foot: Use your regular presser foot, go slowly, and smooth layers often.
Free-motion quilting: Drop the feed dogs and use a darning or free-motion foot if you’d like to experiment.

A Supreme Slider or gliding quilt mat that goes over your sewing machine can help keep the quilt moving smoothly under the quilting. I also really appreciate having quilting gloves to help me grip the quilt. In this image above is a picture of the “darning” or “quilting” foot.

This is what my machine looks like with the feed dogs in the down position - and when it is really dusty!
Step 4: Quilt from the Center Out
Always begin quilting in the middle and work outward. This distributes fabric evenly and reduces shifting.
Quilt a straight line through the center.
Add parallel lines, alternating sides so the quilt stays balanced.
Smooth layers frequently to avoid puckering.
💡 Tip: Roll or fold the quilt sides to fit through your machine’s throat space. Manage the bulk instead of fighting it.
Step 5: Troubleshooting & Common Mistakes
Wrinkles on the back? Quilt was pulled too tightly. Smooth more as you sew.
Puckers around seams? Try a longer stitch length and slower speed.
Layers shifting? Add more basting pins or re-smooth sprayed sections.
Step 6: Finishing Touches
Once quilting is complete:
Remove all basting pins (if used).
Trim edges so all layers are even.
Prepare your quilt for binding (the final step to finish your quilt).

FAQ: Beginner Quilting Questions
How far apart should quilting lines be?
Check your batting instructions. Most recommend quilting every 4–6 inches.
Can I baste without spray adhesive?
Yes! Safety pins are an excellent alternative.
What if I don’t have a walking foot?
You can still quilt with a regular presser foot — just go slowly and smooth layers as you work.
What’s the easiest quilting design for beginners?
Straight-line quilting (in grids, diagonals, or simple parallel lines) is the most beginner-friendly.
Final Encouragement
Quilting your first quilt isn’t about perfection — it’s about learning, creating, and celebrating each step of the process. Every quilt you finish is an accomplishment, and with practice, your results will only get smoother and more polished.